
Optimizing window tinting after replacement requires understanding the curing process, addressing air pockets, using high-quality films, and following manufacturer instructions. Adequate cure time, influenced by temperature, humidity, and sunlight, is crucial for durability and clarity. Following guidelines ensures a professional finish that protects both internal and external vehicle surfaces. Promptly addressing issues maximizes investment in auto bodywork services.
“Uncover the secrets to mastering the art of curing time post window tint application, especially after a replacement. This comprehensive guide delves into the intricacies of the tinting process, offering valuable insights for optimal results. From understanding key considerations during installation to troubleshooting common time-related issues, we unlock the secrets to achieving swift and effective cure times. Maximize your window tinting after replacement with these seven essential strategies.”
- Understanding the Tinting Process: Key Considerations
- Post-Replacement: Unlocking Optimal Cure Times
- Troubleshooting Common Time-Related Issues
Understanding the Tinting Process: Key Considerations
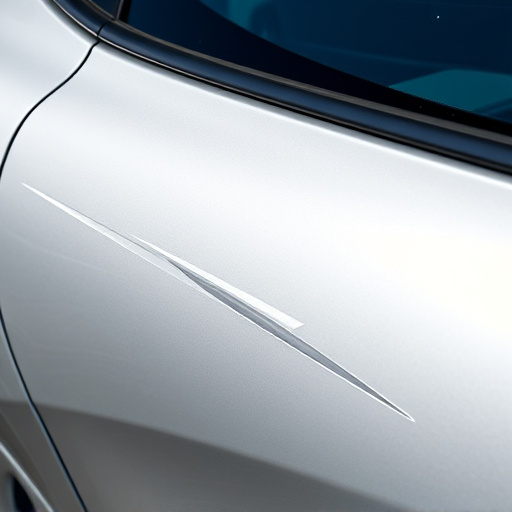
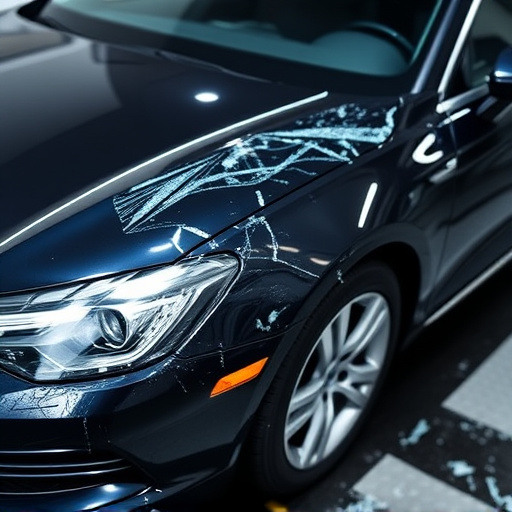
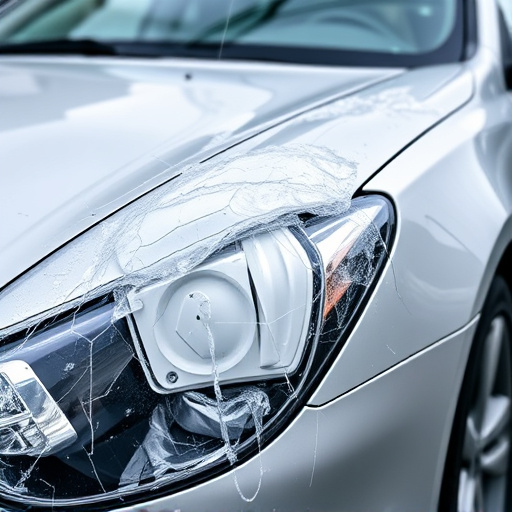
Understanding the Tinting Process is key to knowing how to cure time after a window tint application, especially following replacement. When you get your car’s windows tinted, a special film is applied to the glass surface. This film blocks a significant amount of UV rays and reduces glare, while also offering privacy. During the installation process, air pockets can be trapped between the film and the glass, which can negatively impact the tint’s performance and appearance. That’s why proper application techniques are crucial, including ensuring a clean, dry surface and applying pressure to remove any bubbles or gaps.
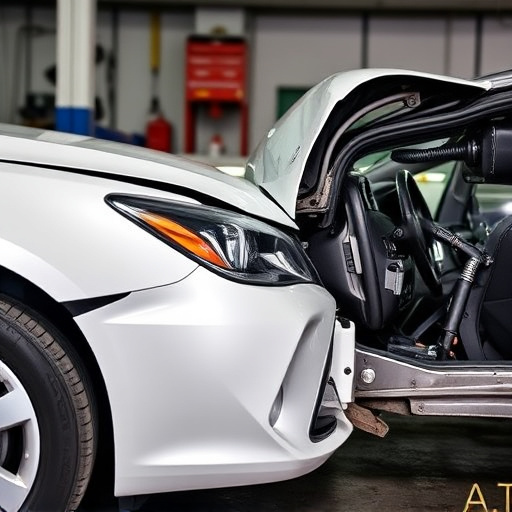
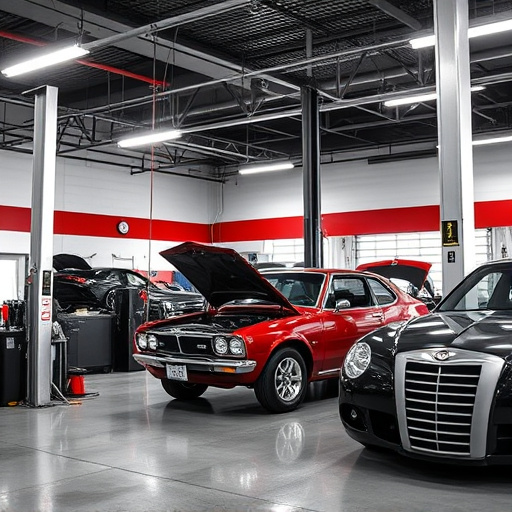
The window tinting after replacement scenario adds another layer of complexity due to potential differences in the glass structure. New windows may have varying properties compared to the originals, affecting how the film adheres. It’s important to choose high-quality tint films designed for optimal performance on new glass and follow the manufacturer’s instructions for curing time. Additionally, considering services from a reputable collision repair shop or car repair service that specializes in paintless dent repair can ensure a professional job, minimizing issues related to air pockets and maximizing the cure time for optimal results.
Post-Replacement: Unlocking Optimal Cure Times
After a window tinting after replacement or auto glass replacement, understanding optimal cure times is key to achieving long-lasting results. While many assume that once the tint is applied, it’s ready for use, this isn’t always the case. The curing process involves chemical reactions that require time and specific conditions to fully develop, ensuring maximum durability and clarity.
During the initial auto glass repair or replacement process, the window may appear cured on the surface, but internally, the adhesive and tint film are still setting. Factors like temperature, humidity, and direct sunlight can significantly impact cure times, so it’s essential to allow adequate time for complete curing before subjecting the vehicle to rigorous use or extreme weather conditions. Following manufacturer guidelines and local climate considerations ensures that your tinted windows not only look great but also withstand the test of time.
Troubleshooting Common Time-Related Issues
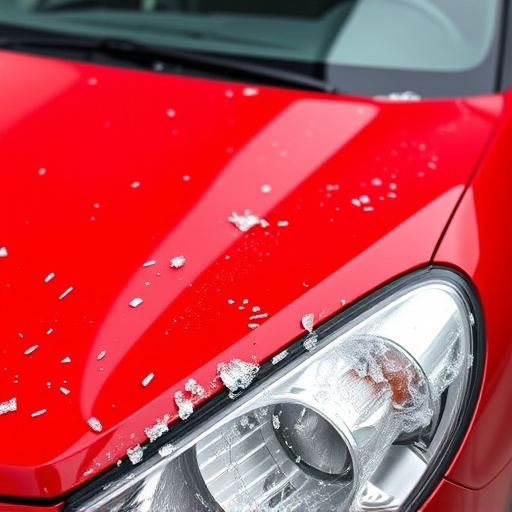
After window tinting, many drivers face common challenges related to time curing. These issues can often be attributed to improper application or environmental factors. To ensure optimal results from your auto maintenance, especially after a replacement, pay close attention to the curing process. One of the primary mistakes is not allowing enough time for the tint to set correctly, which may result in bubbles, streaks, or an uneven finish. Always follow the manufacturer’s guidelines regarding cure times; these are crucial for achieving a professional-grade finish that withstands car bodywork services and protects your vehicle from the elements.
Moreover, environmental conditions play a significant role in time curing. Extreme temperatures, either too hot or too cold, can hinder the process, leading to subpar results. It’s essential to store your vehicle in a controlled environment during the initial curing period, especially if you’ve visited a collision repair center for your tinting service. Regularly checking your tinted windows during this period and addressing any issues promptly will ensure your auto bodywork investment stands the test of time.
Curing time is crucial for achieving optimal results in window tinting, especially post-replacement. By understanding the tinting process and addressing common issues promptly, you can ensure your tinted windows last longer and look their best. Remember, the key to success lies in proper preparation, knowledge of cure times, and effective troubleshooting. Now that you’re equipped with these seven secrets, you’re ready to navigate the curing process like a pro and enjoy the benefits of quality window tinting for years to come.