

After window replacement, proper window tinting process is crucial for satisfactory outcomes. Professionals apply UV-blocking film with precise cuts, but 24-48 hours of curing in optimal conditions (no direct sunlight, extreme weather) post-application is vital. Avoid sunlight and temperature changes, keep area clean, and avoid abrasive materials during initial days. High-quality products and proper ventilation during curing ensure lasting results and structural integrity for safe driving after automotive repairs, emphasizing the importance of correct window tinting after replacement.
Discover the art of restoring your vehicle’s windows to a pristine state post-tint application with our comprehensive guide. This article unveils seven essential secrets to curing time effectively after window tinting, ensuring optimal results. From understanding the tinting process and its intricacies to navigating common mistakes, we equip you with knowledge for successful post-replacement care. Learn key steps to achieve crystal-clear, professionally tinted windows, enhancing both aesthetics and privacy.
- Understanding the Tinting Process: What to Expect
- Post-Replacement Care: Key Steps for Optimal Results
- Common Mistakes to Avoid During Curing Period
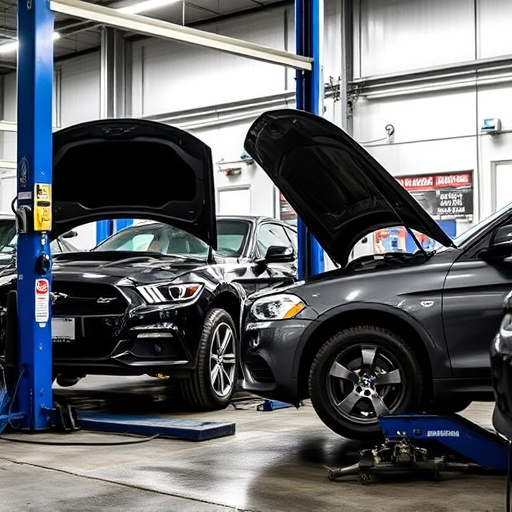
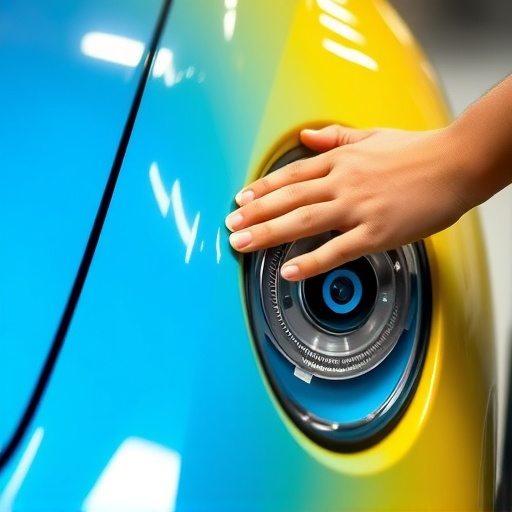
Understanding the Tinting Process: What to Expect
When it comes to window tinting after a replacement, understanding the process is key to managing expectations. During the initial installation, professionals carefully apply a thin film to your vehicle’s glass, designed to block harmful UV rays and reduce glare while maintaining visibility. This involves precise cutting and placement of the tint to ensure a seamless finish.
While the application itself might take just an hour or two, allowing the adhesive to cure properly is crucial for long-lasting results. The curing time varies based on factors like temperature and humidity but typically ranges from 24 to 48 hours. During this period, you’ll want to avoid exposing the tinted windows to direct sunlight or extreme weather conditions, as this can disrupt the bond and lead to premature fading or bubbles in the film. For best results, follow manufacturer guidelines for curing after window tinting, especially after hail damage repair or Mercedes Benz collision repair.
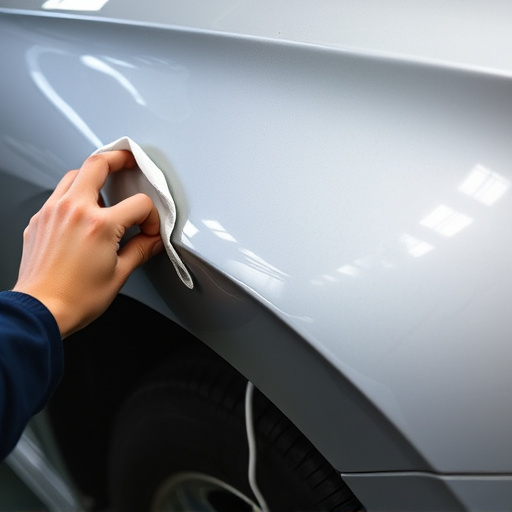
Post-Replacement Care: Key Steps for Optimal Results
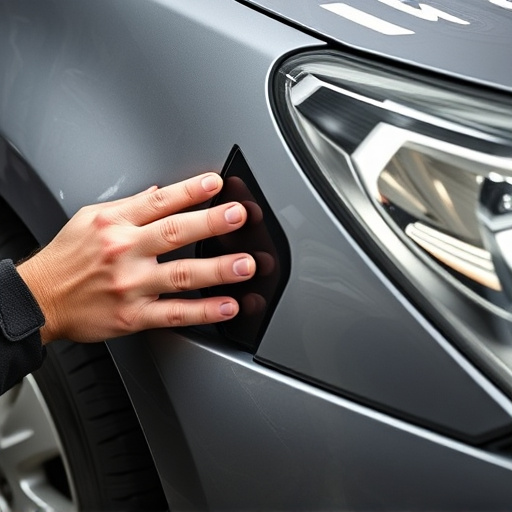
After a window tint replacement, proper post-care is essential for achieving optimal results and ensuring the longevity of your new tint. The first few days are critical as the film adjusts to its surroundings. Avoid exposing the newly installed tint to direct sunlight or extreme temperature changes, as this can cause bubbles, wrinkles, or even peeling. Keep the area clean by gently wiping it with a microfiber cloth to remove any fingerprints or dust particles.
Additionally, be cautious during the first week, as the adhesive cures. Steer clear of abrasive materials and avoid washing your vehicle in self-service car washes until the recommended time frame has passed, usually 24–48 hours. Regular hand washing with a mild soap and warm water is best for cleaning. Remember, proper post-replacement care isn’t just about making your tint look great; it’s also crucial for maintaining the structural integrity of your vehicle’s windows after automotive repair services or car collision repair, ensuring a smooth and safe driving experience.
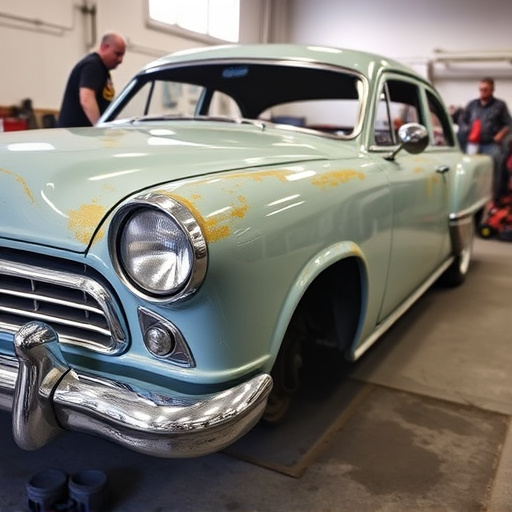
Common Mistakes to Avoid During Curing Period
After getting your window tinting after replacement done, the curing period is a crucial phase that often gets overlooked. Many vehicle owners make the mistake of thinking that once the tint is applied, the job is complete. However, proper curing allows the adhesive to fully bind with the glass, ensuring longevity and optimal performance. A common error is not allowing enough time for the tint to cure; this can lead to premature fading or even peeling. It’s essential to follow the manufacturer’s guidelines and be patient during this process.
Another mistake to avoid is using inferior quality tints or adhesives, thinking it will save costs. This can result in poor installation, causing issues like bubble formation, uneven application, or weak adhesion. Always opt for high-quality products recommended by professionals in auto repair near you or body shop services. Additionally, ensuring proper ventilation during the curing process is vital; inadequate airflow might slow down the drying time and impact the final outcome.
After carefully navigating the process of window tinting and understanding the curing period, it’s crucial to remember that optimal results come from proper post-application care. By avoiding common mistakes and following key steps outlined in this article, you’ll enhance the longevity and effectiveness of your window tinting after replacement. Remember, the right approach can transform your vehicle’s interior, providing a cool and comfortable space while also increasing privacy and security.