After replacing windows, proper window tinting post-application is crucial for optimal results and longevity. This involves cleaning, applying tint film, and sealing with a clear coat, following manufacturer guidelines on curing times to prevent premature peeling or fading. Curing time varies based on tint type, environmental conditions, and installation quality, requiring a delicate balance for high-quality, functional, and aesthetic enhancement post-replacement.
Uncover the secrets to mastering the art of curing time after window tint application. This comprehensive guide delves into the intricacies of the tinting process, specifically focusing on post-replacement strategies. Understanding key factors influencing curing speed is vital for achieving smooth, high-quality results. Learn how to optimize your techniques, ensuring both efficiency and excellence in every job. Discover expert tips for navigating the window tinting after replacement landscape, leaving your clients satisfied with impeccable results.
- Understanding the Tinting Process Post-Replacement
- Key Factors Affecting Curing Time
- Optimizing Speed and Quality for Smooth Results
Understanding the Tinting Process Post-Replacement
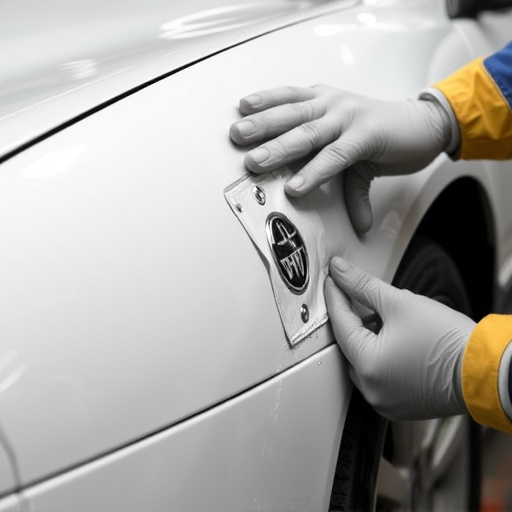
After a window tinting application, understanding the post-replacement process is crucial for achieving optimal results and ensuring longevity of the tints. The tinting process involves several steps, including cleaning the window surface, applying the tint film, and finally, sealing it with a clear coat to enhance durability and protect from UV damage. It’s important to note that proper curing time after application is vital; this allows the adhesive to fully bind to the glass surface, preventing premature peeling or fading.
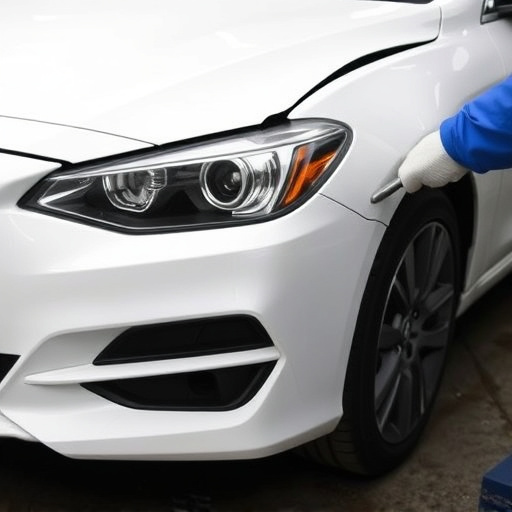
In the context of automotive repair services or vehicle collision repair, where window tinting might be part of the restoration process, adhering to manufacturer guidelines for curing times is essential. An automotive body shop typically recommends specific conditions like minimal temperature variations and avoiding direct sunlight during the initial curing phase. This ensures that the tint film sets correctly, providing a seamless finish and maximizing the benefits of UV protection and privacy enhancement, especially in cars where window tinting is both functional and aesthetic.
Key Factors Affecting Curing Time
The curing time of window tint after replacement is influenced by several key factors. One of the primary considerations is the type of tint film used; different films have varying curing times due to their composition and technology. For instance, ceramic tints are known for their rapid curing process compared to other types. Additionally, environmental conditions play a significant role. Factors like temperature and humidity can either expedite or delay the curing process. Warmer temperatures generally accelerate drying, while higher humidity levels may slow it down.
Another crucial aspect is the application technique and the quality of the installation. Proper alignment, minimal air bubbles, and even distribution of the film are essential for optimal curing. In an automotive body shop or during vehicle bodywork repairs, ensuring that the tint is applied correctly and without defects can prevent issues that may hinder the curing process. Even minor imperfections could lead to delayed curing, affecting the overall quality of the window tinting after replacement.
Optimizing Speed and Quality for Smooth Results

When it comes to window tinting after an auto glass replacement, balancing speed and quality is paramount for achieving smooth results. The process involves meticulous attention to detail, especially during the installation phase. A skilled technician understands that a rushed job can lead to bubbles, streaks, or uneven application, compromising the final aesthetic and functionality of the tinted windows. Therefore, prioritizing quality ensures a durable, clear, and aesthetically pleasing finish.
This balance is achieved through careful preparation of the vehicle’s glass surface before tinting, ensuring all debris and old residue are removed. Using high-quality tint film that aligns with your desired darkness level and proper installation techniques further enhances the process. For instance, maintaining consistent pressure during application prevents air pockets, resulting in a seamless finish akin to a vehicle’s natural glass state, whether it’s post-original manufacture or following a restoration via auto glass replacement or vehicle paint repair.
Curing time after window tint application is a crucial aspect of achieving high-quality, long-lasting results. By understanding the tinting process, recognizing key factors affecting curing, and optimizing speed and quality, you can ensure smooth, professional outcomes for your window tinting after replacement projects. These secrets empower you to deliver top-notch services that meet client expectations.